win11笔记本开机自启热点
Win11笔记本的最新功能之一是开机自启热点,这给用户带来了更便捷的无线网络分享体验,相信很多人都有这样的经历,每次开机后都需要手动设置无线热点,有时候还会忘记操作,导致无法及时连接网络。而现在Win11系统的开机自启热点功能解决了这个问题,让用户无需再手动设置热点,只需一键开机,就能自动启动无线热点,让你的设备随时随地都能与其他设备轻松连接,享受稳定快速的网络连接。接下来我们将详细介绍Win11开机后如何自动启动无线热点,帮助大家更好地利用这一便捷功能。
具体操作如下
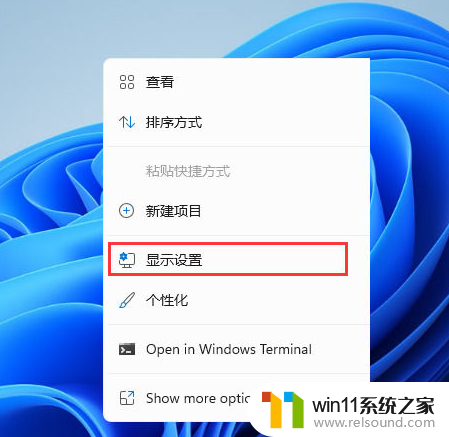
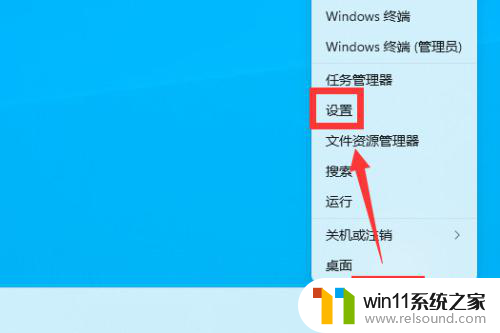
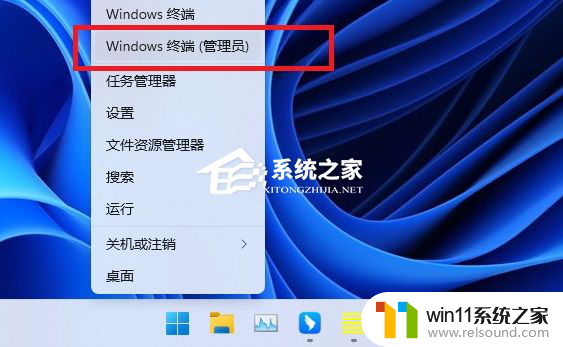
1. 首先,按键盘上的【 Win + X 】组合键,或右键点击任务栏上的【Windows徽标】,在打开的右键菜单项中,选择【终端(管理员)】;
2. 用户账户控制窗口,你要允许此应用对你的设备进行更改吗?点击【是】;

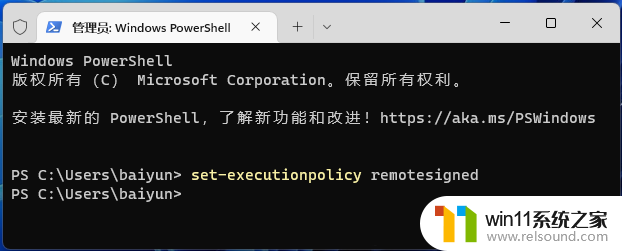
3. 管理员:Windows PowerShell窗口,输入并执行以下命令:
set-executionpolicy remotesigned
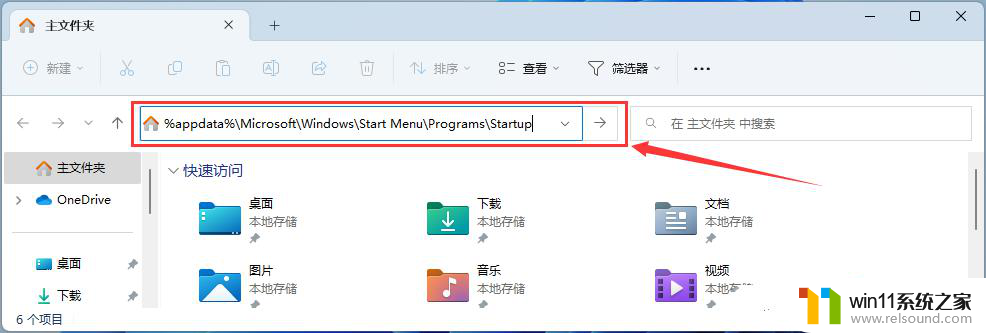
4. 打开文件资源管理器,并在地址栏输入:
%appdata%\Microsoft\Windows\Start Menu\Programs\Startup
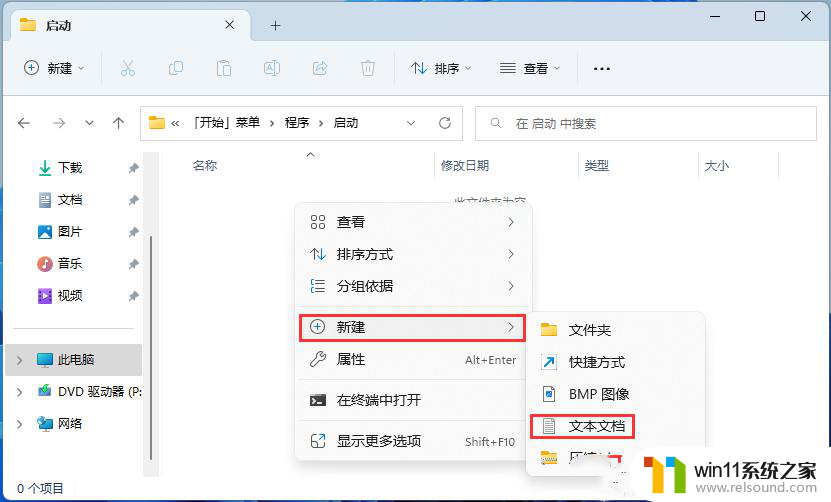
5. 打开的文件夹中,空白处,点击【右键】,在打开的菜单项中,选择【新建文本文档】;
6. 新建的文本文档窗口,输入以下内容:
01powershell -executionpolicy remotesigned -file "%appdata%\Microsoft\Windows\Start Menu\Programs\pondsihotspot.ps1" 02exit 复制代码 powershell -executionpolicy remotesigned -file "%appdata%\Microsoft\Windows\Start Menu\Programs\pondsihotspot.ps1" exit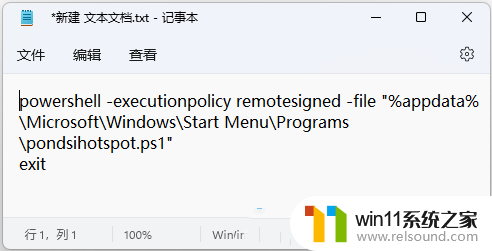
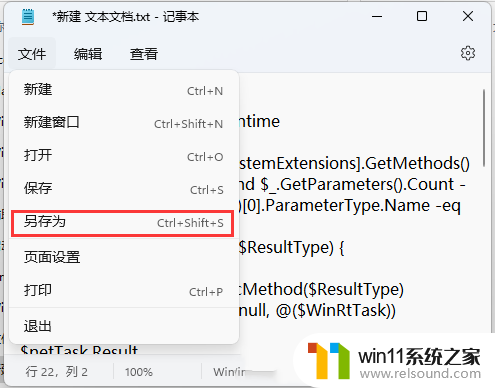
7. 点击左上角的【文件】,在打开的下拉项中,选择【另存为】;
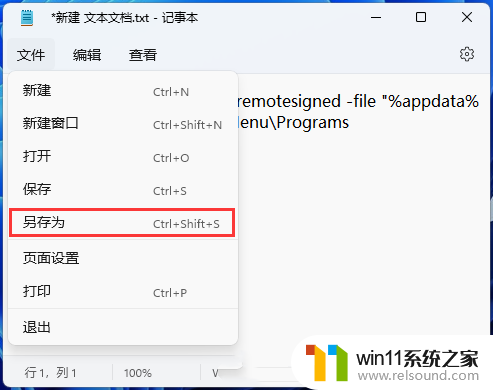
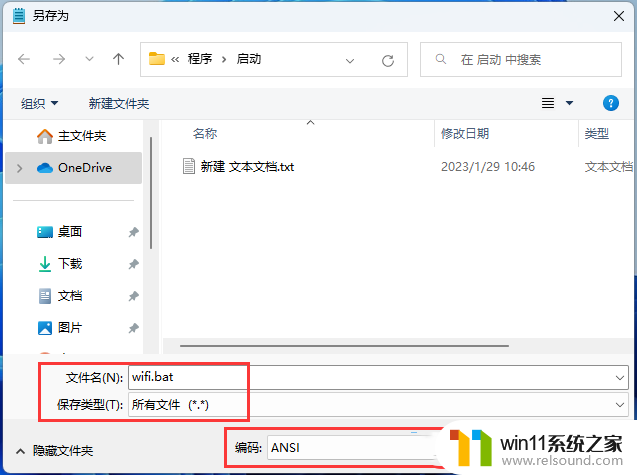
8. 另存为窗口,注意两个地方:
1)文件名填入以【.bat】结尾的名称,保存类型选择【所有文件】
2)编码选择【ANSI】
最后点击【保存】。
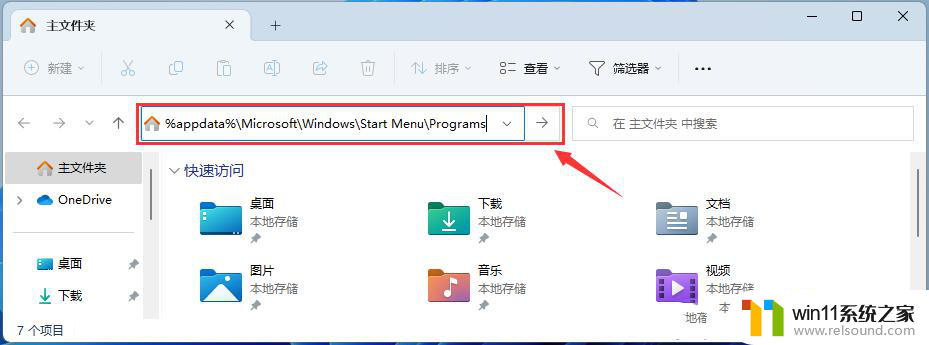
9. 再打开文件资源管理器,并在地址栏输入:
%appdata%\Microsoft\Windows\Start Menu\Programs
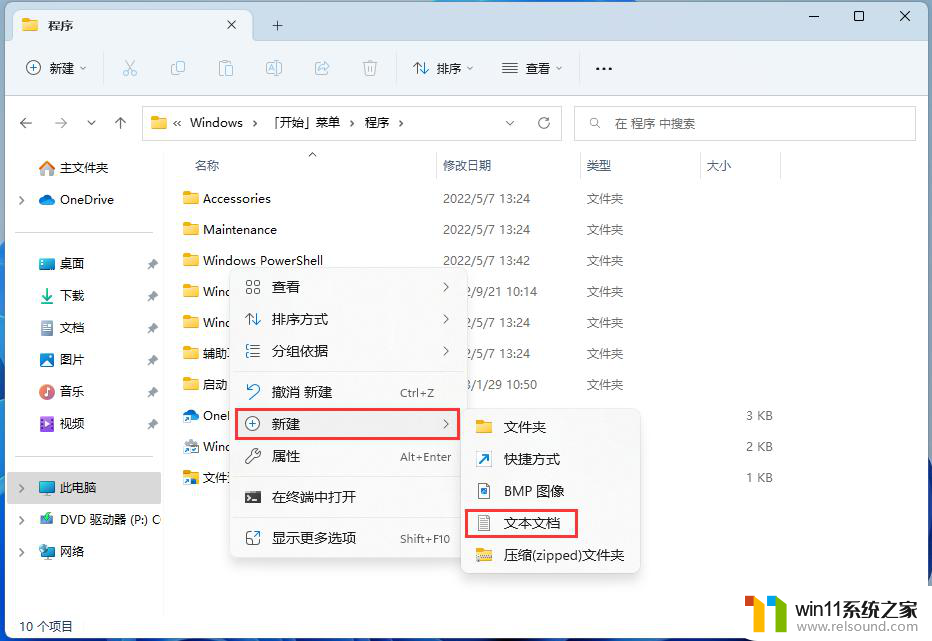
10. 打开的文件夹中,空白处,点击【右键】,在打开的菜单项中,选择【新建文本文档】;
11. 新建的文本文档窗口,输入以下内容:
01Add-Type -AssemblyName System.Runtime.WindowsRuntime 02$asTaskGeneric = ([System.WindowsRuntimeSystemExtensions].GetMethods() | ? { $_.Name -eq 'AsTask' -and $_.GetParameters().Count -eq 1 -and $_.GetParameters()[0].ParameterType.Name -eq 'IAsyncOperation`1' })[0] 03Function Await($WinRtTask, $ResultType) { 04$asTask = $asTaskGeneric.MakeGenericMethod($ResultType) 05$netTask = $asTask.Invoke($null, @($WinRtTask)) 06$netTask.Wait(-1) | Out-Null 07$netTask.Result 08} 09Function AwaitAction($WinRtAction) { 10$asTask = ([System.WindowsRuntimeSystemExtensions].GetMethods() | ? { $_.Name -eq 'AsTask' -and $_.GetParameters().Count -eq 1 -and !$_.IsGenericMethod })[0] 11$netTask = $asTask.Invoke($null, @($WinRtAction)) 12$netTask.Wait(-1) | Out-Null 13} 14$connectionProfile = [Windows.Networking.Connectivity.NetworkInformation,Windows.Networking.Connectivity,ContentType=WindowsRuntime]::GetInternetConnectionProfile() 15$tetheringManager = [Windows.Networking.NetworkOperators.NetworkOperatorTetheringManager,Windows.Networking.NetworkOperators,ContentType=WindowsRuntime]::CreateFromConnectionProfile($connectionProfile) 16if ($tetheringManager.TetheringOperationalState -eq 1) { 17"Hotspot is already On!" 18} 19else{ 20"Hotspot is off! Turning it on" 21Await ($tetheringManager.StartTetheringAsync()) ([Windows.Networking.NetworkOperators.NetworkOperatorTetheringOperationResult]) 22} 复制代码 Add-Type -AssemblyName System.Runtime.WindowsRuntime $asTaskGeneric = ([System.WindowsRuntimeSystemExtensions].GetMethods() | ? { $_.Name -eq 'AsTask' -and $_.GetParameters().Count -eq 1 -and $_.GetParameters()[0].ParameterType.Name -eq 'IAsyncOperation`1' })[0] Function Await($WinRtTask, $ResultType) { $asTask = $asTaskGeneric.MakeGenericMethod($ResultType) $netTask = $asTask.Invoke($null, @($WinRtTask)) $netTask.Wait(-1) | Out-Null $netTask.Result } Function AwaitAction($WinRtAction) { $asTask = ([System.WindowsRuntimeSystemExtensions].GetMethods() | ? { $_.Name -eq 'AsTask' -and $_.GetParameters().Count -eq 1 -and !$_.IsGenericMethod })[0] $netTask = $asTask.Invoke($null, @($WinRtAction)) $netTask.Wait(-1) | Out-Null } $connectionProfile = [Windows.Networking.Connectivity.NetworkInformation,Windows.Networking.Connectivity,ContentType=WindowsRuntime]::GetInternetConnectionProfile() $tetheringManager = [Windows.Networking.NetworkOperators.NetworkOperatorTetheringManager,Windows.Networking.NetworkOperators,ContentType=WindowsRuntime]::CreateFromConnectionProfile($connectionProfile) if ($tetheringManager.TetheringOperationalState -eq 1) { "Hotspot is already On!" } else{ "Hotspot is off! Turning it on" Await ($tetheringManager.StartTetheringAsync()) ([Windows.Networking.NetworkOperators.NetworkOperatorTetheringOperationResult]) }
再点击左上角的【文件】,打开的下拉项中,选择【另存为】;
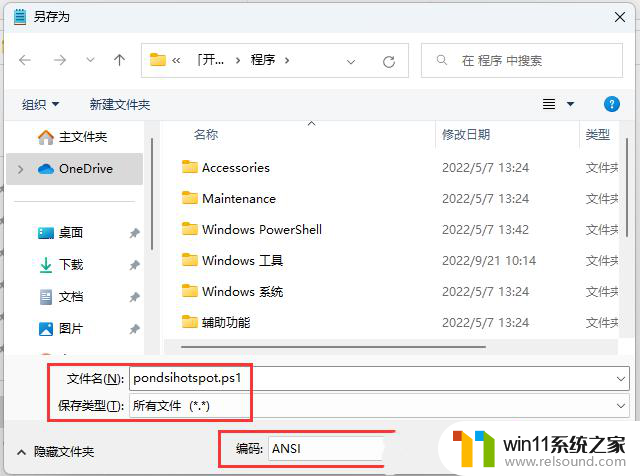
12. 另存为窗口,注意两个地方:
1)文件名填入以【.ps1】结尾的名称,保存类型选择【所有文件】
2)编码选择【ANSI】
最后点击【保存】。
最后运行【wifi.bat】,测试能否打开热点。
以上就是win11笔记本开机自启热点的全部内容,如果有不清楚的用户可以参考以上步骤进行操作,希望能够对大家有所帮助。